Bridges to Myself: The Visual Journal Protocol for Easing Tension and Connecting to Your Resources
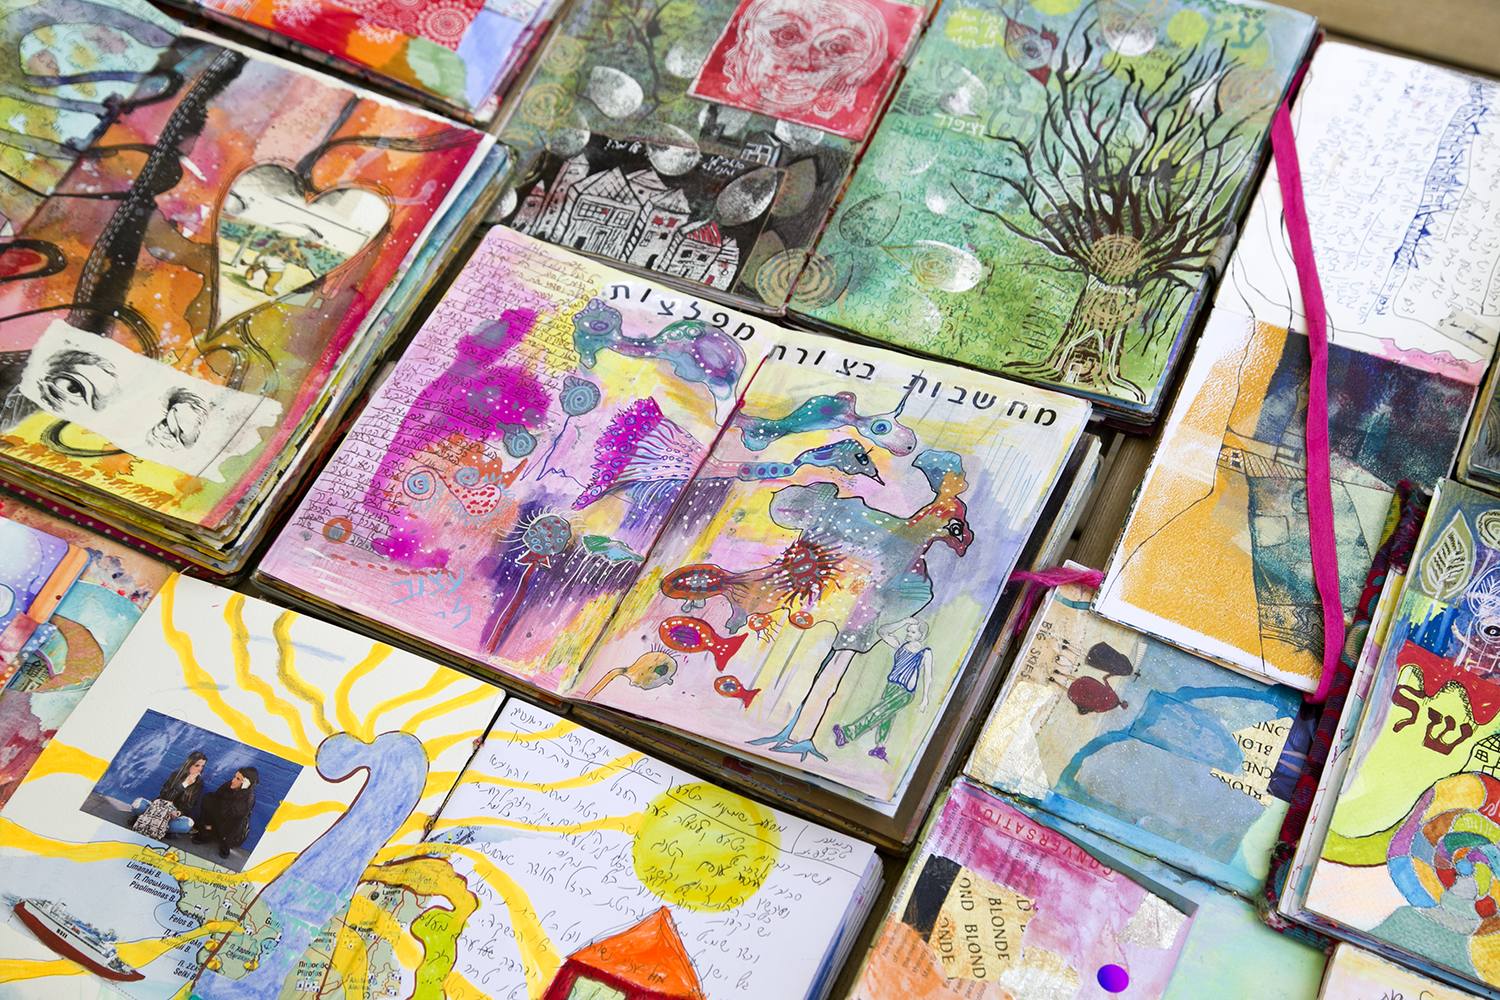
Bridges to Myself is a structured protocol for making one page in a visual journal, following the seven elements of the SoulPages method, designed to ease tension, uncover inner resources and widen perspective. It runs in seven steps in a fixed order, suits ages ten and up, and was written specifically to work with people who are certain they cannot make art.
I wrote this protocol as a chapter in Protocols of Strength and Hope: A Guide to Facilitating Arts-Based Workshops for Building Resilience in Collective Crisis and War, initiated and edited by Dr Ronen Berger, published by Ono Academic College in partnership with the Community Stress Prevention Center, 2024. It appears there as protocol 32. Since then it has become the basis for two workshops in a separate resilience programme for teenagers. Here it is in full, in my own English.
My name is Rakefet Hadar. I am an art therapist, an author, and the founder of the training school for SoulPages guides. The protocol was written in the months after October 7th, out of work with evacuated women in hotels and evacuation centres, and that is why it is built to travel: you can run it anywhere, including a corner of a hotel dining room.
Why work in a fixed order rather than freely?
Because a blank page is the most frightening thing in the room, and a woman who says she cannot draw is usually not talking about talent. She is talking about starting. A fixed order takes the question of where to begin off the table and leaves all of her attention for the content.
Each element is one more layer of meaning, and each connects to a different resource. The layers accumulate one on top of another, and what emerges is a page with its own logic and continuity, even though nobody planned it in advance.
What are the seven elements, and what does each one connect to?
Element
What it connects to
Background
The ground we came from: family, culture, community, lineage
Intention
Values, beliefs and meaning. What we are willing to fight for
Image
Imagination, and the capacity to make healing metaphors
Line
Connections between separate parts of the psyche, and the joining of split ones
Colour
Feeling, including the feelings we set aside or push down
Text
Hope and insight, distilled into one sentence that holds the page
The magic of chance
Surprise and synchronicity, and the knowledge that reality has many layers
What do you need to begin?
Watercolour or acrylic paint
Magazines or picture books you can cut images from
Glue
A black fineliner and a black marker
Acrylic markers, or any markers you have
That is the whole list. Nothing on it assumes prior knowledge, and that is a deliberate choice rather than a concession: the simpler the materials, the easier it is to start.
The protocol, step by step
Part one, the background element
Choose three colours that feel good to you, colours that will act as anchors, and one colour that expresses the difficulty. Lay the good colours down with relatively slow movements while breathing deeply. The slow movement slows the breath, and that is part of the work rather than a preparation for it.
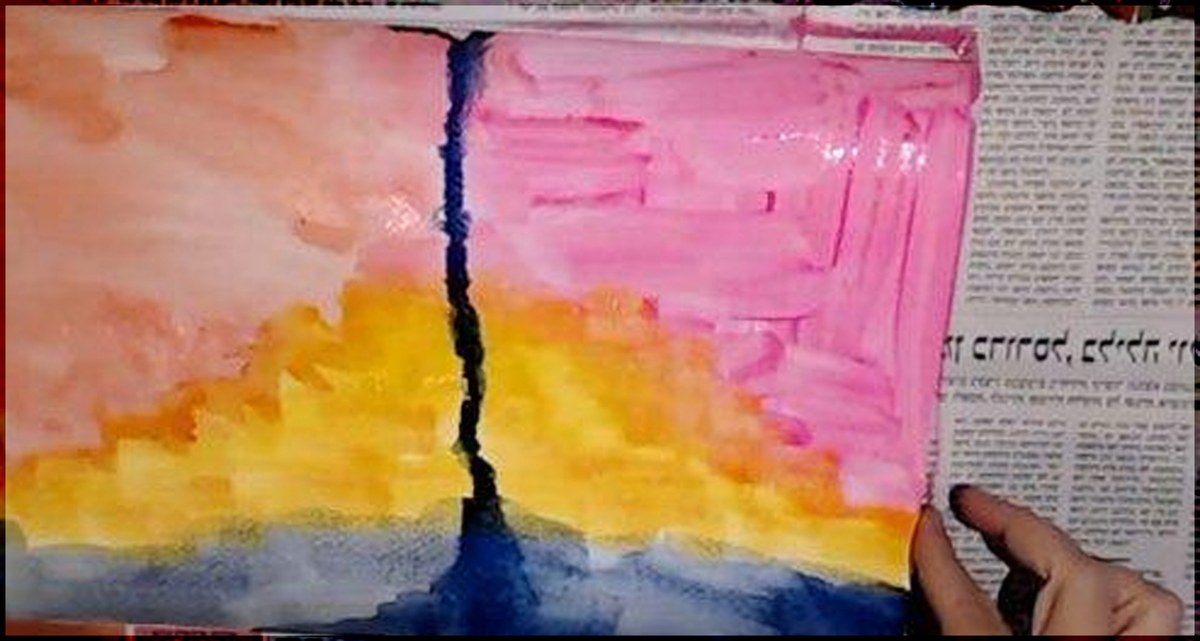
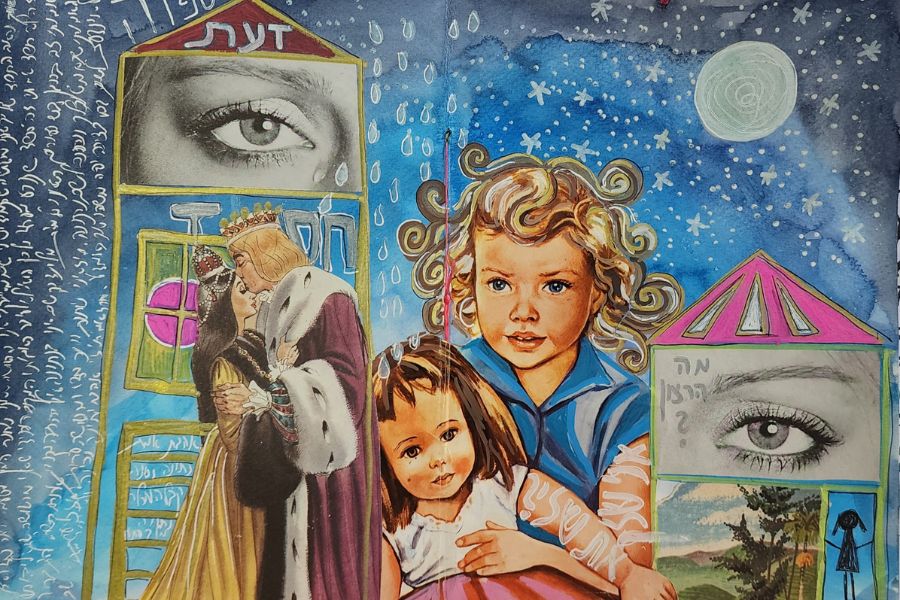
The background element. Two layers of colour across the spread, before there is any content in it.
The colour that carries the difficulty goes on last, and deliberately so. You cannot ignore the difficulty, and you certainly can find ways to quiet it on the page.
Part two, the intention element
Write down every resource in your life. You can organise the list by area or leave it entirely open. Two questions that take it deeper: what would I like to strengthen in myself, and which resources do I wish I had and feel I still do not.
Part three, the image element
Choose between two and four images that represent your strengths, and think of one more resource you would like to build. Cutting from a magazine removes the pressure to draw well and leaves the choosing, which is the part that matters.
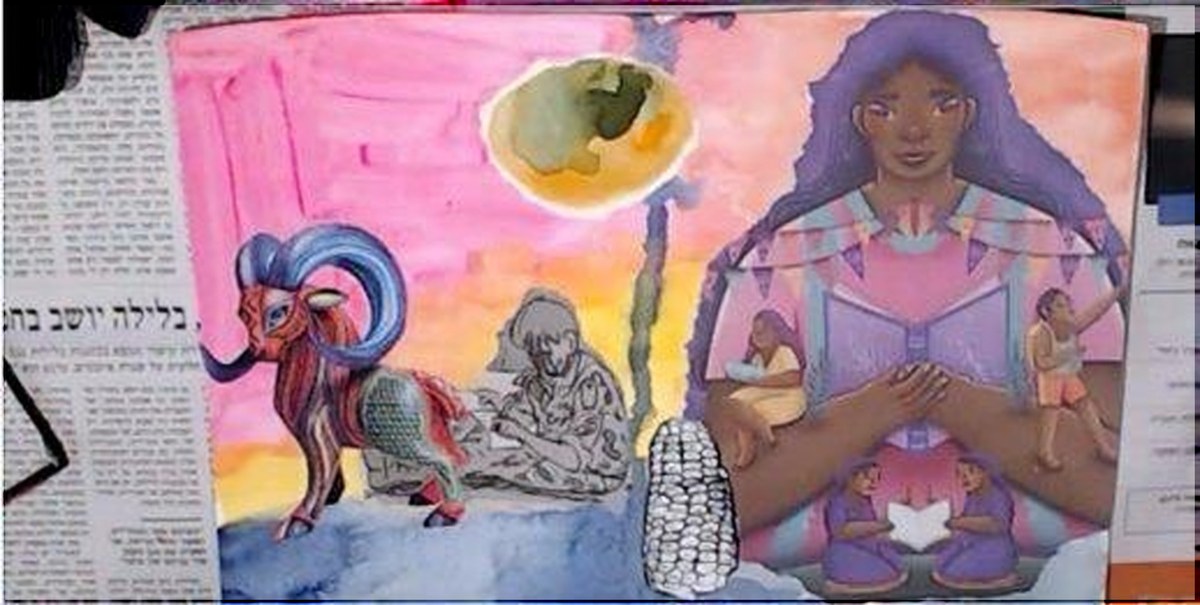
The image element. The images enter the background and begin to hold the experience.
Part four, the line element
Take a thin black marker, or any marker, and connect the images so that a sequence forms. At this stage there is no need to think about the story, only to perform acts of connection with lines. You can also draw over the images you have glued down.
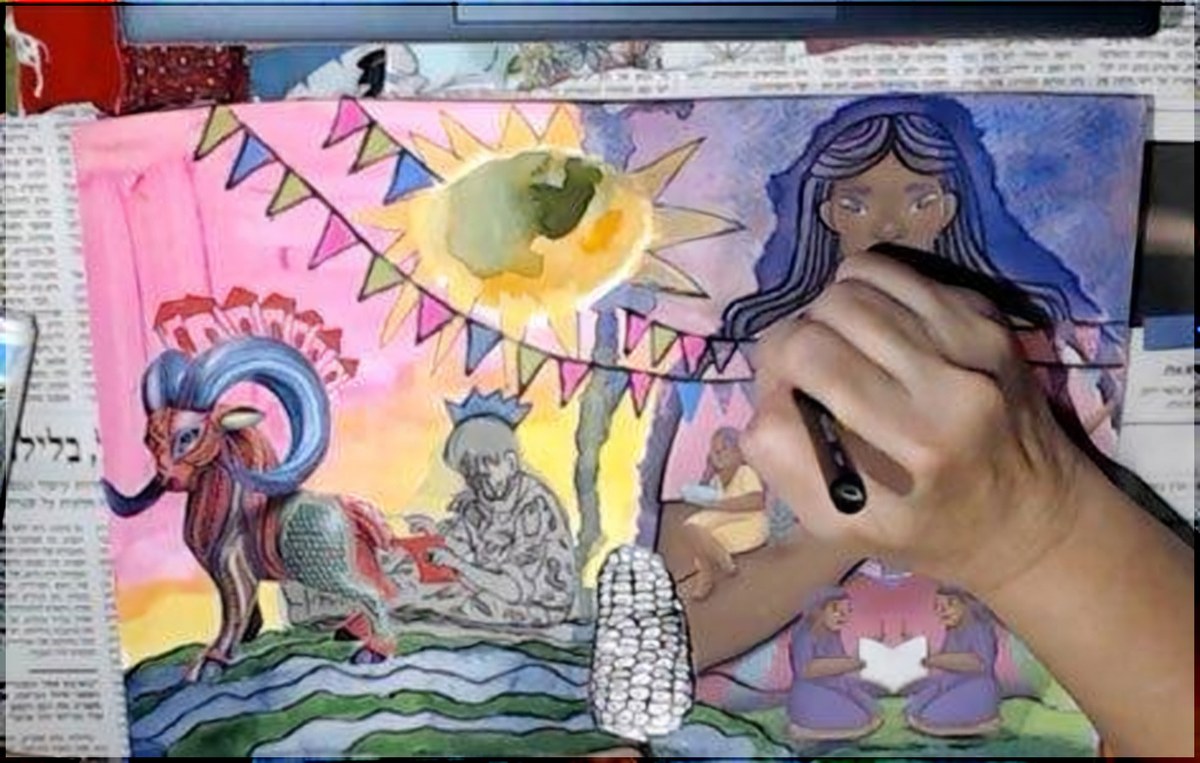
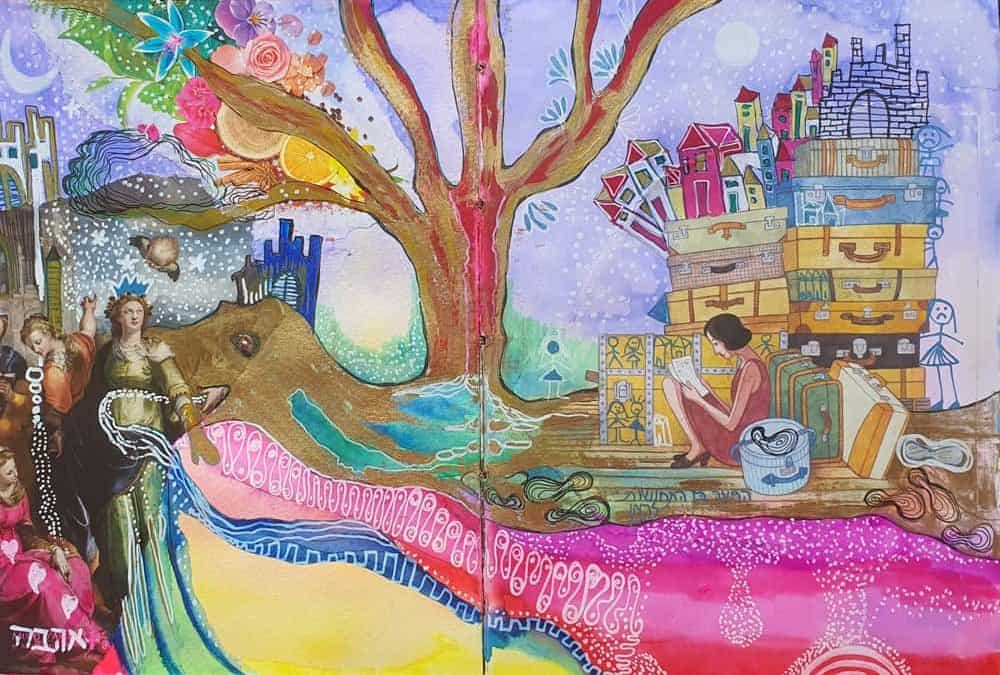
The line element. The line connects the parts, surrounds them, or separates them.
Part five, the colour element
Add colour to the page any way you like. Draw your own additions, or symbols that bring relief and act as anchors: hearts, flowers, houses. This is the stage where you are allowed to add a colour simply because it strengthens a good feeling.
Part six, the text element
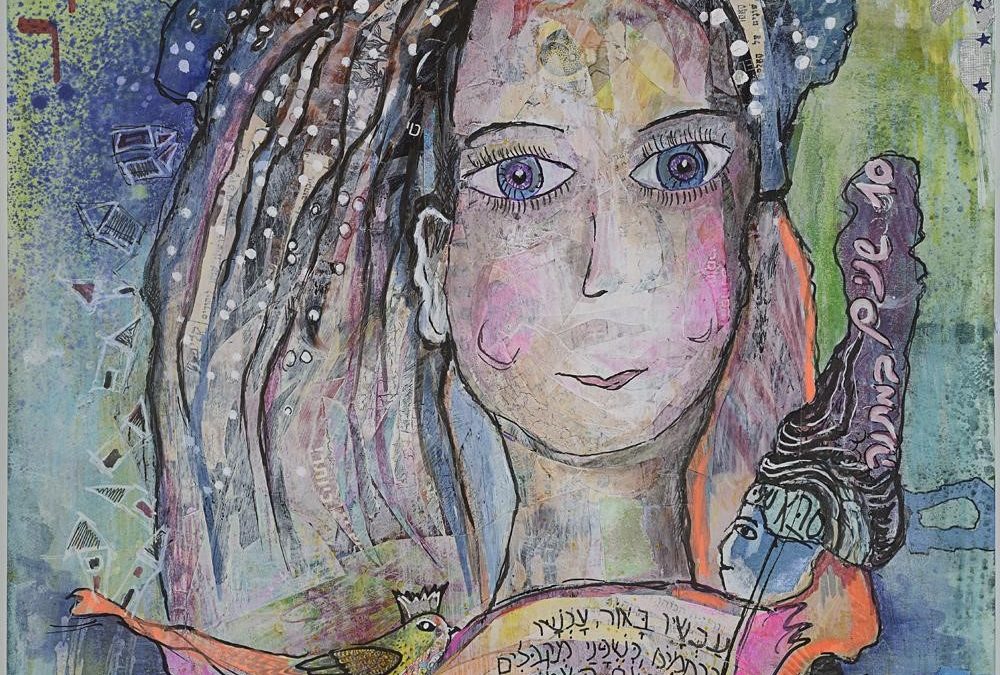
Look at what you have made and at the words you wrote, and see whether you can assemble short, strengthening sentences from them, a kind of message rising out of all the resources on the page. The sentences can be entirely spontaneous, as though the resource itself badly wants to tell you something: my body is strong as an oak, it is allowed to cry, my imagination flies like a bird.
Write the sentences on a separate white sheet, cut around them, and glue them onto the work wherever you choose.
Part seven, the magic of chance
Once the visual work is finished, look for what surprises you in it and put a spotlight on it.
In the piece I made, I glued down a figure of a colourful stag with antlers. Only at the end did I understand that the stag stood for my grandfather, Zvi Hadar, a Holocaust survivor who lost his entire family in the war, came to Israel and rebuilt his life from nothing. That connection to his strength moved me deeply, and helped me reach the power of transformation inside myself.
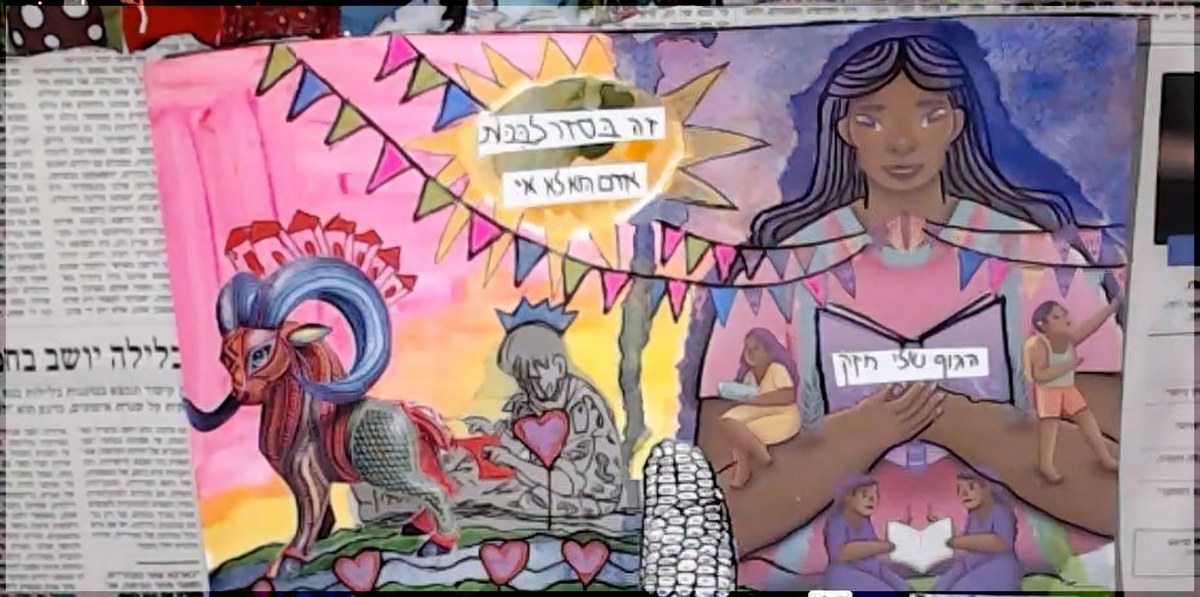
The finished spread. Seven layers one on top of the other, and the words came in last.
How do you share at the end without doing harm?
At the close you can show each other the work and share whatever you wish: the process itself, the meaning of one part or of the whole page, and you can also let a particular part speak in the first person, as though it were you.
Another option is to ask the group to say what they see in someone else’s work, which widens her perspective. Here it matters a great deal to stay inside the phenomenological approach: speak only about what I see in the piece, with no interpretation, no grading and no opinion.
If time is short, a brief personal share in pairs or small groups is better than a rushed circle with everyone.
Frequently asked questions
What is the Bridges to Myself protocol?
A structured seven-step protocol for making one page in a visual journal, following the seven elements of the SoulPages method, aimed at easing tension, uncovering inner resources and connecting to hope. It was published as protocol 32 in Protocols of Strength and Hope, Ono Academic College, 2024.
What age is it suitable for?
Ten and up, and it works equally well with adults who have no art experience at all. The techniques were chosen so that no drawing ability is required.
How long does it take to run?
It has seven parts and ends in sharing, so it needs an extended session rather than fifty minutes. A SoulPages group session usually runs two to three hours.
Can I use it professionally with groups?
Yes. That is exactly what it was published for, as a protocol for professionals in therapy, education and community work, in a book released free in Hebrew and Arabic. Credit and a link back to the source are appreciated.
What is the magic of chance?
The seventh element of the SoulPages method, in which you look for what appeared on the page without being planned and discover what it means. It connects you to surprise, to synchronicity, and to the knowledge that reality holds many layers of meaning.
Where can I read the original protocol?
In Protocols of Strength and Hope, edited by Dr Ronen Berger, published by Ono Academic College in 2024 and freely available on the college website. The protocol appears there on page 225, in Hebrew.
This protocol was written inside a war, for women who did not know when they would go home, and that is exactly why it is so simple. Give yourself twenty minutes today, take a page, some watercolour, a few images, and make something that reflects exactly what you are feeling right now. If you want the ground beneath it first, the research behind the method is here, and there is a free lesson waiting when you join the list: soul-pages.com
You witness it. Once a page is finished, set it upright, sit with it for a full minute without touching it, and let it look back at you. Then ask it three questions rather than explain it: what do I see, what surprises me, what does this page need from me now. Date it, close the journal, and leave the meaning to arrive in its own time.
My name is Rakefet Hadar. I am an art therapist, an author, and the founder of a school that trains facilitators in the Soul Pages method of visual journaling. Almost everything written about art journaling stops at the moment the glue dries. That is strange to me, because in my own practice the page only becomes useful after it is finished. I made my first journal page in 2014, the year my mother was dying of cancer, and I remember sitting in front of it afterward with no idea what to do next. This is the part nobody taught me, so I will teach it to you.
Why is finishing the page only half the practice?
Making the page moves something. Witnessing the page is what lets you know what moved. While you are working you are inside the process, choosing colors, tearing paper, following an impulse, and you cannot see the whole while you are making it. The moment you step back, the page becomes an object outside of you, and for the first time you can meet it rather than be it. That shift, from maker to witness, is where the insight lives.
This is also the difference between art journaling as a craft and art journaling as inner work. A craft practice ends when the page looks right. An inner practice ends when the page has been seen.
How do you witness your own page, step by step?
Set it up where you can see it. Prop the journal upright, lean it against a wall, put it on the floor and step back. Distance matters; a page held in your lap is still an extension of your hands.
Stay for sixty seconds without touching anything. Do not fix, do not add, do not photograph. The urge to improve it is the fastest way to stop looking at it.
Describe before you interpret. Say out loud, or write in the margin, only what is literally there: a large dark shape on the left, a small figure near the bottom edge, three strips of torn red paper. Description keeps you honest. Interpretation too early becomes a story you already knew.
Notice what surprises you. There is almost always one element you did not plan: a color you never use, an empty corner you left alone, something placed off-center. Surprise is the page’s own contribution, and it is usually the most important thing on it.
Ask what it needs, not what it means. More space, a second page, a word, a border, or simply to be left alone. The page often asks for something concrete before it offers anything abstract.
Date it and close the journal. Write the date in a corner. Then close the book. Closing is a real gesture, not housekeeping; it tells your system that the visit is over.
What questions do you ask a finished page?
Keep the list short and use the same questions each time, so that over months you can hear how the answers change:
What do I actually see here, before I explain anything?
What is the first thing my eye goes to, and what did I almost miss?
What surprises me?
Where is the energy on this page, and where is it empty?
If this page could say one sentence to me, what would it be?
What does it need from me now?
Write the answers somewhere: the back of the page, a margin, a note on your phone. Six months from now the answers will be more useful than the page.
Why shouldn’t you interpret a page too quickly?
Because interpretation closes what the image opened. An image works precisely because it holds more than one meaning at once, and the moment you name it (“this is my anxiety”) you trade all of that richness for a label you already had words for. Nothing new can arrive after that.
This is also why, in Soul Pages groups, we never interpret another woman’s page. A facilitator trained in the method creates alongside the participant rather than standing outside as an interpreter, and when a page is shared, the group witnesses it and reflects what they see, not what they think it means. Having your page received without being decoded is, for many women, the first time that has ever happened to them.
The same courtesy applies to your own pages. Witness first. Meaning, if it wants to come, will come.
What do you physically do with the pages?
The question
What works
What to avoid
Keep or throw away?
Keep everything, even the pages you dislike
Tearing out a page in the mood that made it
Show anyone?
Only if you want to, and only to someone who will not interpret it
Posting it for approval before you have witnessed it yourself
Where to store?
One bound journal, in order, dated
Loose sheets in a drawer, undated
Come back to it?
Revisit in batches every few months
Re-reading anxiously the next morning
Photograph it?
After the witnessing, if you want a record
During, as a substitute for looking
The pages you want to throw away are the ones worth keeping most often. A page that embarrasses you is usually a page that got close to something.
When should you go back and look at old pages?
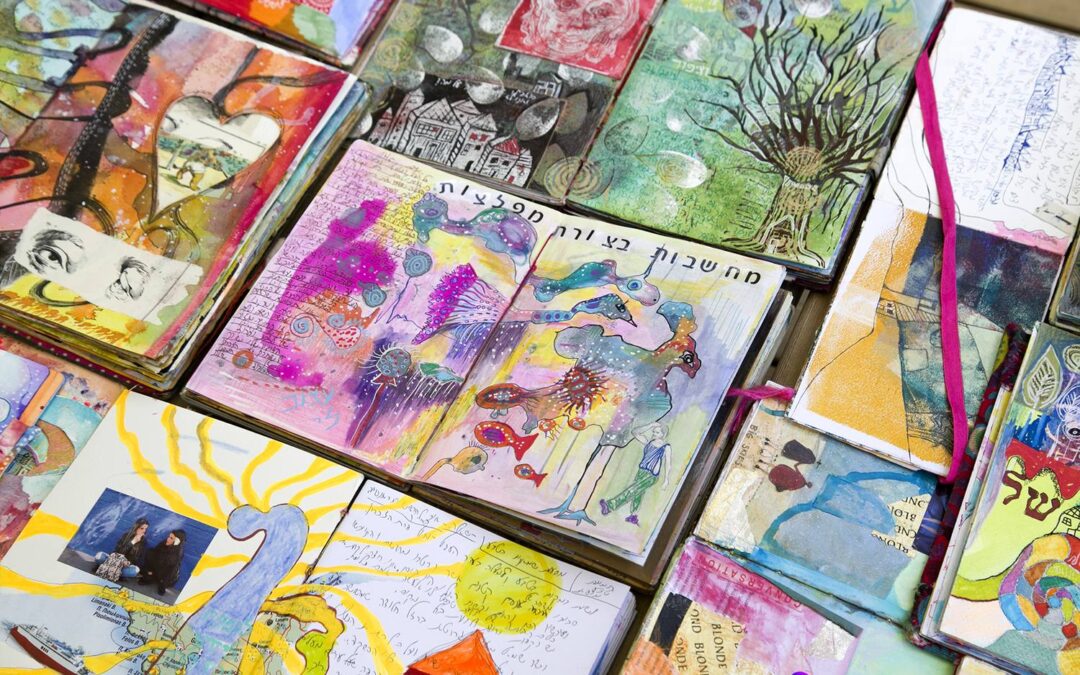
Every few months, and always in batches rather than one at a time. Lay out ten or twenty pages together and look for what repeats: a color that keeps returning, a shape you draw without deciding to, an edge you never cross. A single page shows you a day. A stack shows you a pattern, and the pattern is the thing you cannot see from the inside of your own life.
Choose a calm moment for this, not a low one. And if a page brings back something heavy that does not settle, close the journal and read my guide on journaling about trauma safely, which covers pacing, closing rituals, and when to bring this work to a therapist.
Frequently asked questions
What do you do with art journal pages after you finish them?
Witness them. Prop the page up, look at it for a minute without touching it, describe what is literally there, notice what surprises you, ask what it needs, then date it and close the journal.
Should I analyze or interpret my art journal pages?
Describe first, interpret rarely. Naming a page (“this is my grief”) closes the image down to a label you already had. Witnessing keeps it open, and any meaning that matters usually arrives later on its own.
Should I keep art journal pages I don’t like?
Yes. Pages that embarrass you are often the ones that got closest to something real, and you cannot judge that in the mood that made them. Keep everything, dated and in order.
How often should I look back at old journal pages?
Every few months, and in batches of ten or twenty at once. A single page shows you one day; a stack reveals the repeating colors, shapes, and edges that are invisible from inside your own life.
Is it okay to share my art journal pages with other people?
Only by choice, and best with someone who will witness rather than interpret. In Soul Pages groups we reflect what we see on another woman’s page, never what we think it means.
What if I look at the page and feel nothing?
That is a legitimate result, not a failure. Write “nothing today” next to the date and move on. Pages frequently open months later, and a blank response now says more about timing than about the page.
There is a particular quiet that happens in a room full of women when the making stops and the looking begins. The noise of scissors and water jars fades, someone props her page against a chair, and she goes still… that stillness is the actual practice, and it is the part almost nobody is taught. Give yourself twenty minutes to make a page this week, and then give yourself one more minute, just one, to sit with it before you close the book. If you want a structured way in, my guide to keeping an art therapy journal walks through the first pages, and the Soul Pages courses at soul-pages.com go further whenever you are ready.
Ever wondered what gesso actually does? Curious about gel plate printing, image transfer, or eco printing? Not sure where to start with mixed media?
I created this free encyclopedia just for you! It brings together dozens of visual journaling and mixed media techniques, all organized by topic, with a clear description of each one and direct links to tutorial videos on YouTube and Pinterest so you can watch, learn, and create right away.
Inside you’ll find everything from different journal types and background techniques, to color and media, collage, lettering, special techniques like encaustic and resin, and even a whole section on inspiration, inner child work, and color as an emotional language.
Whether you’re just starting out or you’re an experienced creator looking to explore new techniques, there’s something here for everyone. All in one place, with working links, and completely free.
So what are you waiting for? Dive in and start creating! 🌸
I felt that I wanted to explore materials and techniques without getting into healing and all the deep ideas I incorporated later in my method.
I started with Gelli prints, it blew my mind to create all these beautiful patterned paper so easily.
The beauty of the combination of color and pattern was addictive, and I would just sit and practice with the gelly plate for hours.
Then I discovered linoleum prints and produced many patterns of lino cut..
After every sleepless night, I would take what I created and use it in my mixed media art journal. I would cut parts of my lino prints plus a piece of gelly plate print, add an image, use different kinds of colors, and whoops…. something new was created!!
This was when I realized there are different layers to creating meaningful visual journaling.
I noticed the freedom and happiness I felt when I could use endless possibilities.
I felt like a child in an enormous candy store!
And of course, I bought so many materials! I had to try them all!
Mixed media means you can combine lots of materials and techniques in one piece of art in a meaningful way.
The outcome is not as important as the process you felt when you created it.
In time, I felt more and more the need to use special mixed media materials and techniques to allow for inner growth, and this was the beginning of my path to creating the SoulPages method.
The art journaling world is full of possibilities and sometimes you can feel overwhelmed “how can I start?”
In this article I want to suggest 3 simple activities that can kickstart your artistic practice:
Meditation art– you can start by simply listening to meditation or visualizations by different teachers and then letting your hands and heart create what you felt/ saw in your meditation. give it 20-30 minutes and remember that there is no place for the inner critic in this activity!
You can start by listening to one of my visualizations here:
In my book “Layers of meaning” you can learn all about the 7 elements of creating, This is a very simple way to start working in a journal. the 7 elements are Intention, magical coincidence, background, Image, color, line, and text.
you can start working with one element a day and create intuitive art only with that element.
choose a poem you like and create a work of art that is a visual translation of the poem. You can print the poem and cut out the lines and glue them over your art.
This piece of art journaling spread I did after a poem that my mother wrote.
Keeping a journal is one of the strongest tools to improve and transform your life.
One day, more than 10 years ago, I met with one of my colleagues and she showed me this artistic journal… inside I saw amazing simple collage work.
I was hooked and I ran home and started my own collage journal.
In the beginning, I mostly worked with images from magazines and old scraps but after a while, I started to collect my own collages materials, images that spoke to my heart.
Let me share with you one practice that if you do daily-you will start feeling great changes in your life.
Create a background from one or more of the primary colors
Glue 3-5 images on different parts of the page
connect the images with lines
Add more colors to connect the images
Look at what you created and give it a “name”, a text that summarizes what you created.
Additional idea: ask the picture you created as if it was your inner guide: what is the message that I need to know today?
Working with collage images can help you connect with inner parts or inner archetypes that are hidden from your daily conscious. These parts can be positive important powers that you can activate within yourself.